

Hey y'all!
This Saturday, May 9th, I will finally be taking my senior pictures. For one of my props, I really wanted to buy a sign that said "Bama Bound". I searched google and Etsy but couldn't find what I was looking for. So I figured, why not just make one?
I used this chalkboard (currently 30% off), as well as these chalk markers and regular white chalk.
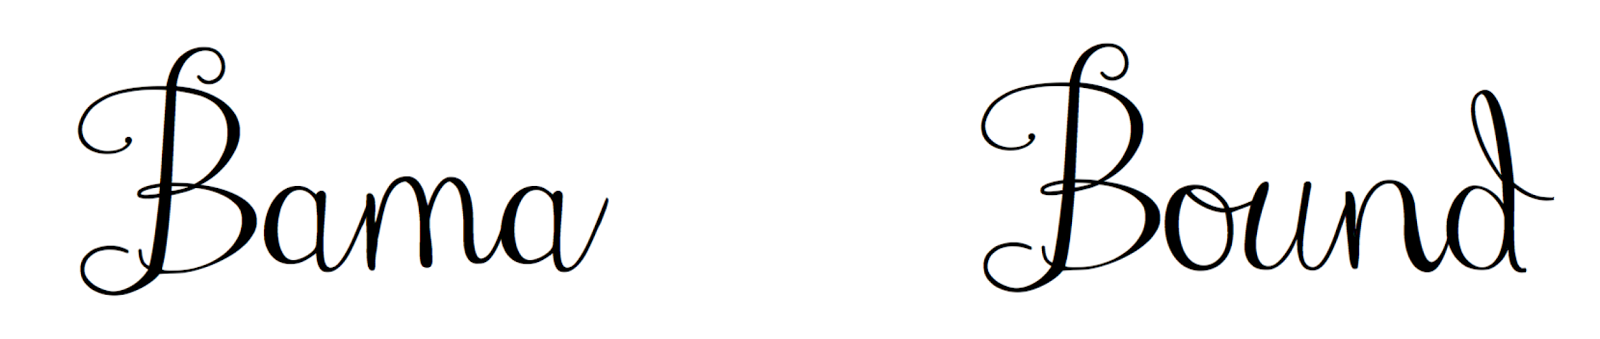
Step 1 - Open up a document file using landscape mode. Select a font and type out your phrase. Be sure to center your saying as this will make the transferring process much easier. I used this font at size 208. I did have to use two separate pieces of paper because of my font size. Print document.
Step 2 - On the back of your piece of paper, use a piece of white chalk to completely cover the area where your phrase is. Make sure you don't leave any space.
Step 3 - Place paper right side up and center as needed. Use a pen to trace over the letters. If you have thick letters, simply outline.
Step 4 - Remove paper. Use chalk marker to trace, color and fill in the phrase as needed. All done!

I went over mine a few times to make sure the color was distributed evenly, but if you like it looking a little lighter in some spots, then just leave it! If you make a mistake, use a q-tip with a tiny bit of water to help clean up the edges.


I love this so much!!
ReplyDeleteBrilliant! Love it x
ReplyDelete